Skill Group: Biosafety and Biosecurity
Donning (Putting on) PPE
Before You Start …
Before you work on this lesson, you should have a strong working knowledge of lessons 1 and 2 in this module; in particular, you should know and be able to explain:
- The purposes of PPE use;
- The routes for pathogen transmission;
- Relative period of times pathogens can survive in the environment and how the type of pathogen (i.e., bacteria, virus, fungi) influences this;
- Commonly encountered PPE in clinical veterinary practice, what it protects, and when it is indicated in clinical situations.
Introduction
Novices to PPE use (and even many with years of experience) often have questions about appropriate donning of PPE. In reality, donning PPE is pretty straightforward. But there are a few key steps to follow to ensure the PPE you have taken time, energy, and expense to use, provides the protection you intend.
So, you’ve chosen the key items that you need to protect against pathogen transmission to yourself, other patients and the environment; but where, when and how can you get these items on in a manner best suited to reducing pathogen transmission?
It is important to realize that the order and specifics of donning PPE may vary with the level of protection, type of PPE used and configuration of the isolation unit (or wherever the patient is located). You will encounter different protocols in different practices and even services within a facility. For teaching and examination purposes, the protocols that are taught in this training are what is expected for assessments related to this learning unit. Outside of a student assessment here at The Ohio State University, you should follow the specific protocols for each service and hospital in which you work.
Learning Outcomes
By the end of this lesson, you should be able to:
- List the order for donning PPE.
- Describe common errors in donning PPE.
- Identify locations where donning may occur in different clinical situations.
Where and when to don PPE
PPE should be donned immediately prior to patient contact and in an area that is considered “clean” (i.e., an area distant from where the patient has direct contact or where pathogens from the patient could have contaminated). For patients in isolation, PPE should be donned immediately before entering the isolated environment (i.e., in the anteroom). In other situations, don as close to the patient as possible, while still ensuring the area is “clean” (e.g.,in front of the cage for an animal with a bacterial skin infection likely to be transmitted by direct or indirect contact).
The correct order of PPE donning
Before you get started donning PPE, you need to take some key steps:
- Remember that items that enter into an isolation area must be either disposed of appropriately in the isolation area or be thoroughly cleaned and disinfected prior to leaving the isolation area. So, items such as stethoscopes, lab coats, cell phones and pens need to be left outside the isolation unit; dedicated items for these purposes should be available within the unit.
- Gather everything you will need for the patent (e.g., equipment, medications).
- Perform hand hygiene (wash hands with soap and water or use an alcohol-based hand sanitizer) to ensure that you do not contaminate the PPE.
Now, it’s time to gather the PPE items you will need, ensuring that you have the appropriate type and sizes needed for the work you will be doing. For teaching purposes, here we are going to simulate what is likely the highest level of protection typically encountered in clinical veterinary practice. We will be wearing the following items:
- Zip-up disposable coveralls, with hood;
- Disposable gloves;
- Eye protection;
- Nose and mouth protection;
- Disposable foot covers.
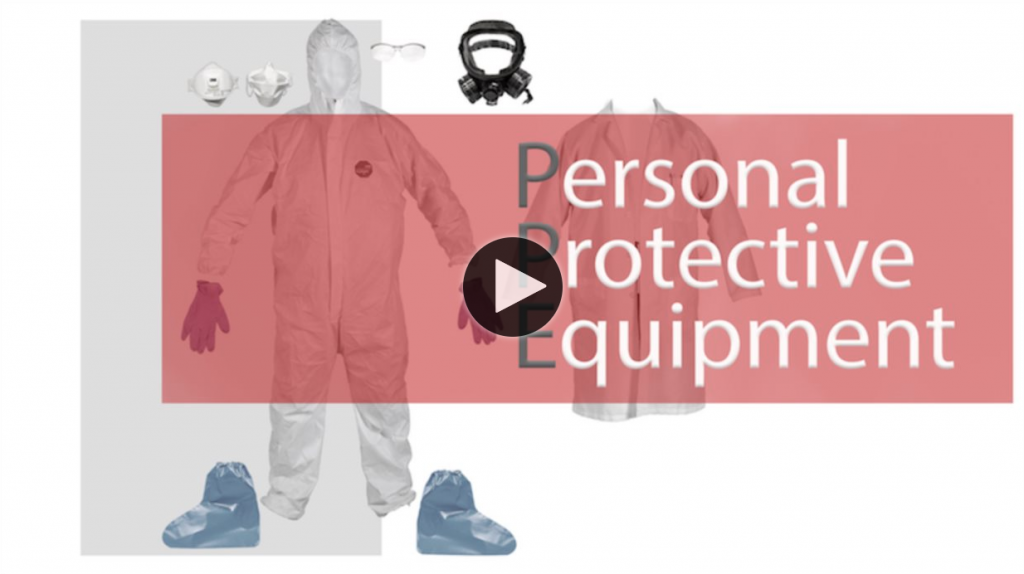
The following video demonstrates the process of donning PPE.

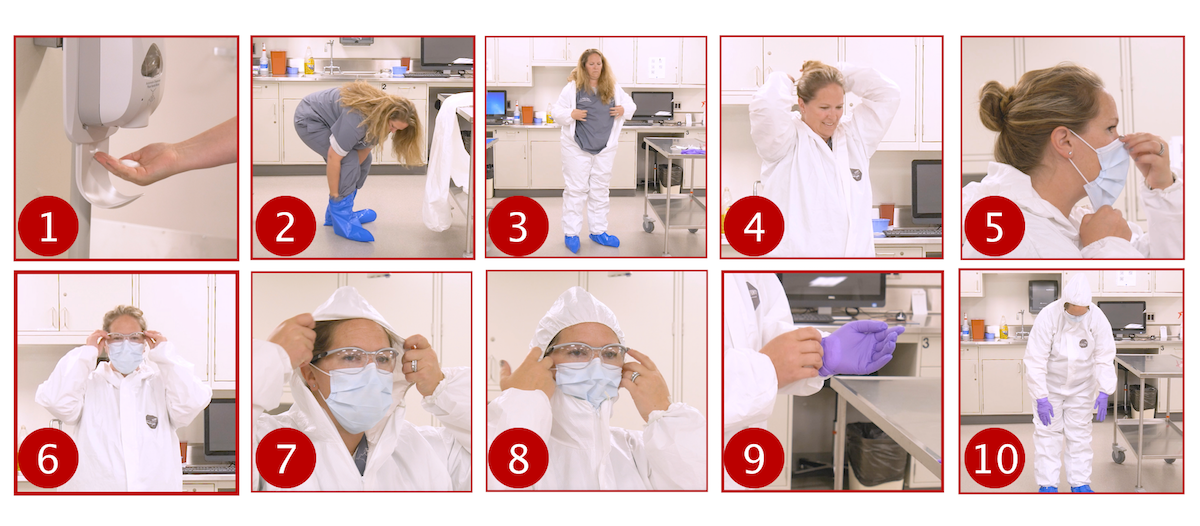
Since the PPE is clean, the order in which you put items on is not critical. For consistency within this training, we will don in the following order:
- Shoe covers;
- Coveralls/gown;
- Mask and eye protection;
- Pull attached hood over your head;
- Now is a good time to inspect yourself to ensure all hair, skin and clothing are covered and protected by the PPE. Those with long hair should secure it in a fashion that will keep it contained within the hood while working on the patient. Now is also when we should make certain that we have everything we need.
- Put on the gloves. Be sure the gloves overlap the wrist of the coveralls.
Give yourself one last inspection (or better yet ask a partner to inspect you). Be on the lookout for these common mistakes:
- Gap between the shoe covers and coveralls;
- Gap between the gloves and coveralls;
- Hair not contained under hood;
- Zipper left partially down exposing skin or clothing.
Confirm you have everything you will need. This is not a process that you want to repeat because you forgot something that you need in isolation (yes, unless you can find someone to bring you the item, if you forget something you will need to completely doff and re-don fresh PPE).
You are now ready to enter the isolation area and have contact with the patient!
Wrapping Up
In this lesson, you learned about the where, when and how of getting PPE items on in a manner best suited to reducing pathogen transmission. In the next lesson, you will learn about appropriate doffing.
Before Moving On …
For your continued reference, we have created a “Donning of PPE” poster that you can download and review as needed.
Use the self-check activity below to practice identifying some common errors with PPE donning.
Finally, practice donning if you have access to PPE, such as in the CVM Skills Lab!
- Working with a partner, take turns to watch and record your partner don PPE. Use this checklist to ensure you follow all PPE donning recommendations.
- Video tape yourself donning PPE (verbalizing what you are doing) and review with a peer to self-assess.
- After watching videos of you and your partner donning PPE, reflect on what went well and what you need to improve. What specifically do you need to improve and how can you make these changes?
